Skip to content
Earth Day Sale 25% Sitewide | Use Code: EARTH
Days
Hours
Min
Sec
Monday - Friday
9AM - 6PM CST
|
Dallas, TX
|
(214) 501-1484
Twitter
Facebook
Instagram
TikTok
YouTube
Log in
Cart
Log in
Twitter
Facebook
Instagram
TikTok
YouTube
Collection:
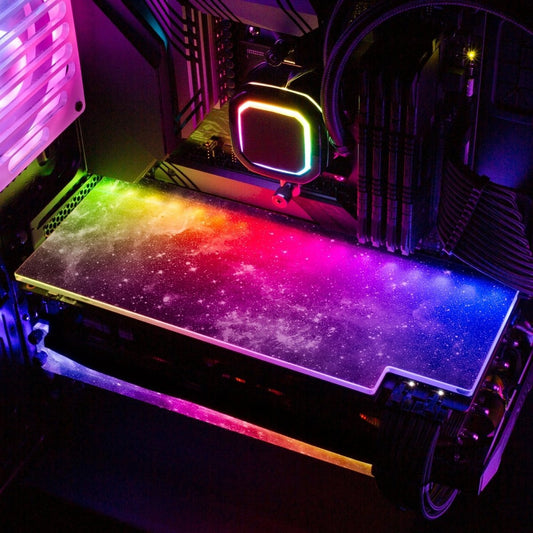
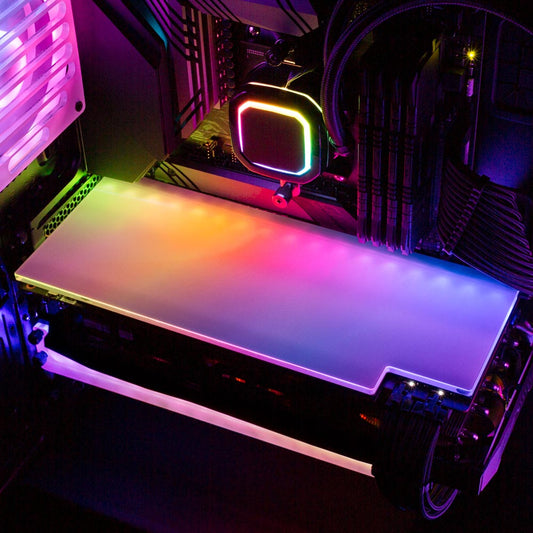
Backplates
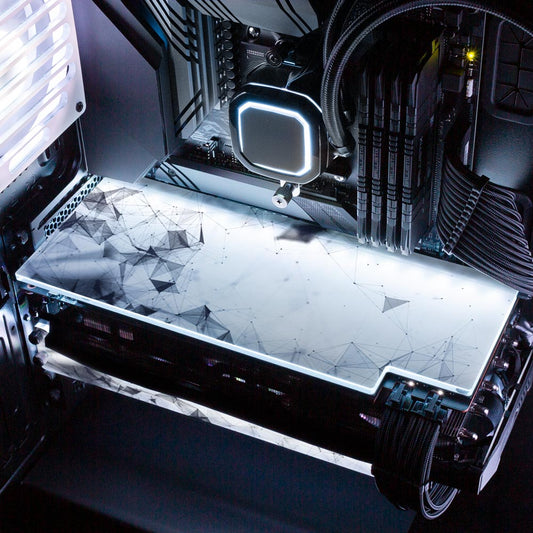
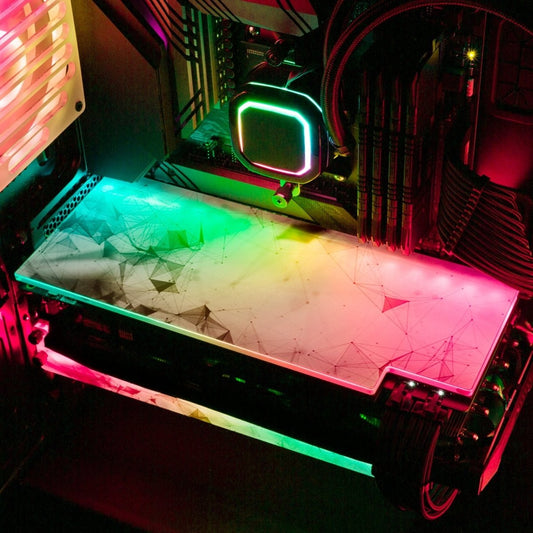
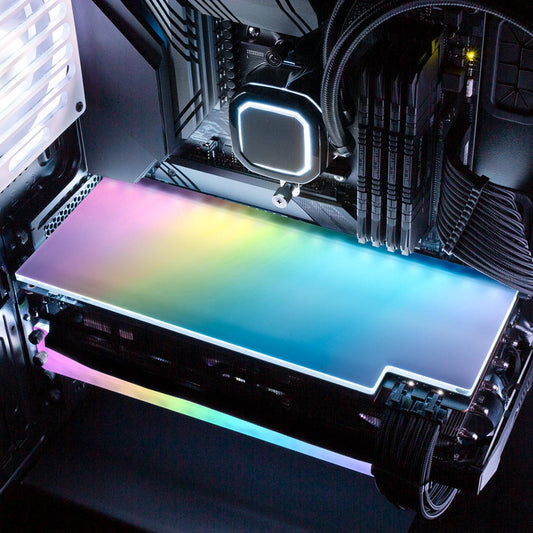
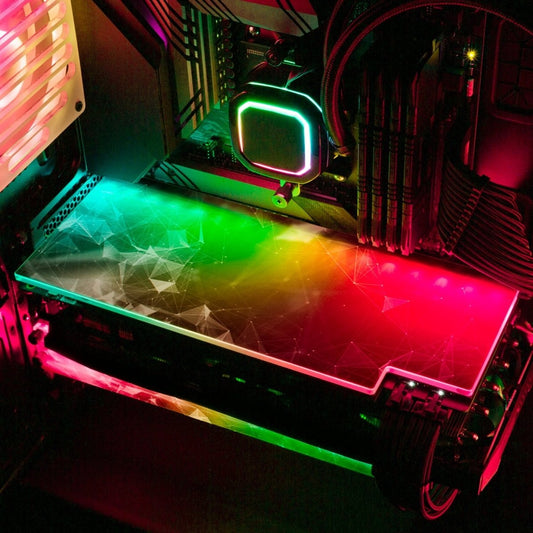
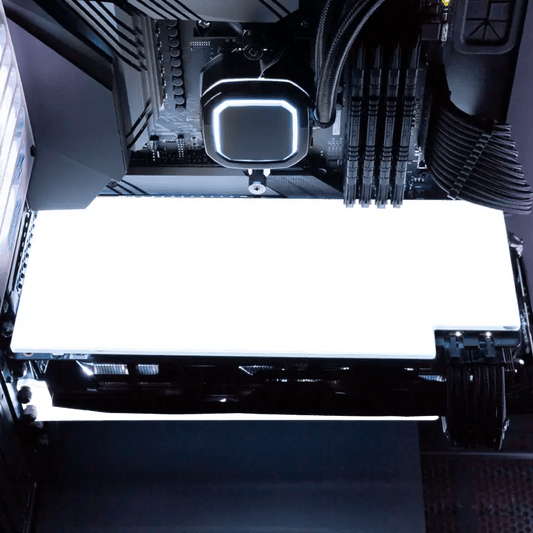
Spectrum White RGB GPU Backplate
Spectrum White RGB GPU Backplate
Regular price
$89.99
Regular price
Sale price
$89.99
Unit price
/
per
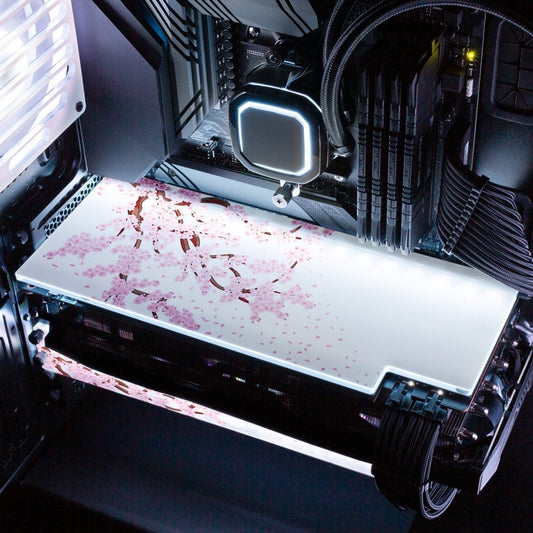
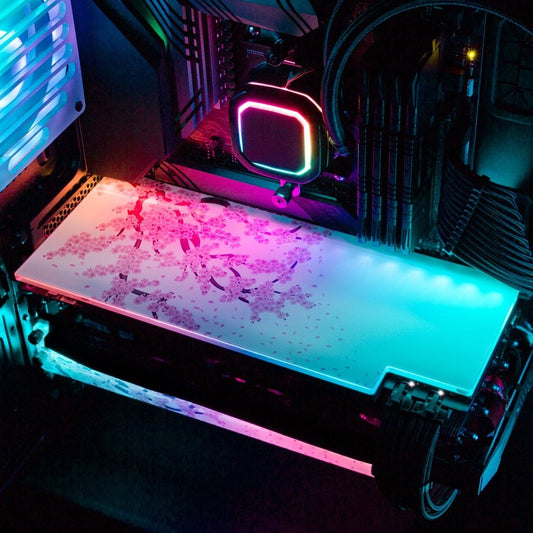
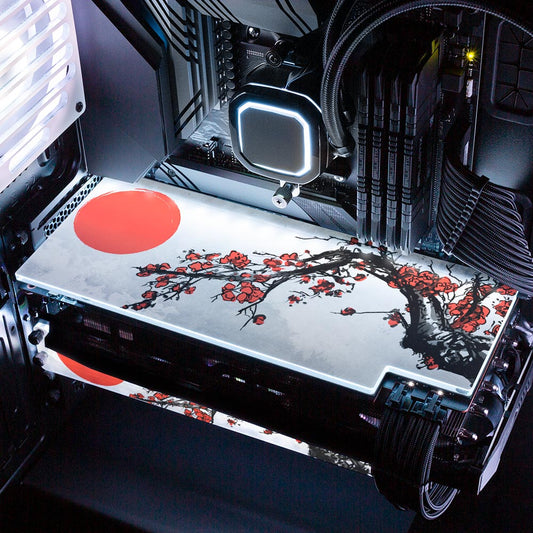
Sakura RGB GPU Backplate
Sakura RGB GPU Backplate
Regular price
$89.99
Regular price
Sale price
$89.99
Unit price
/
per
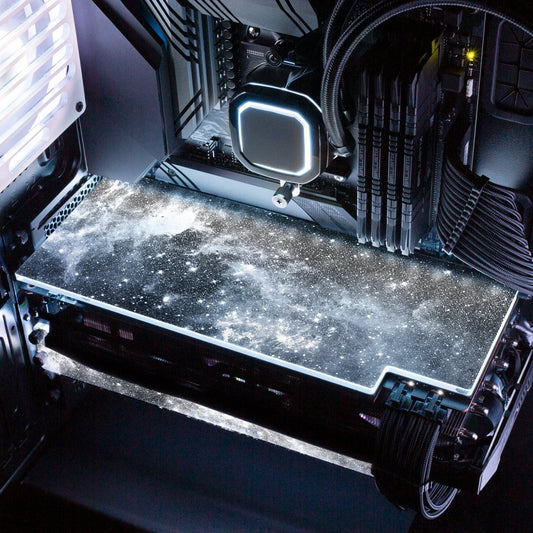
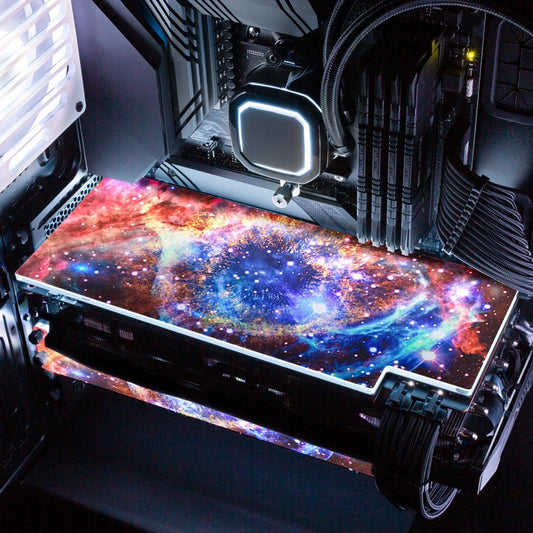
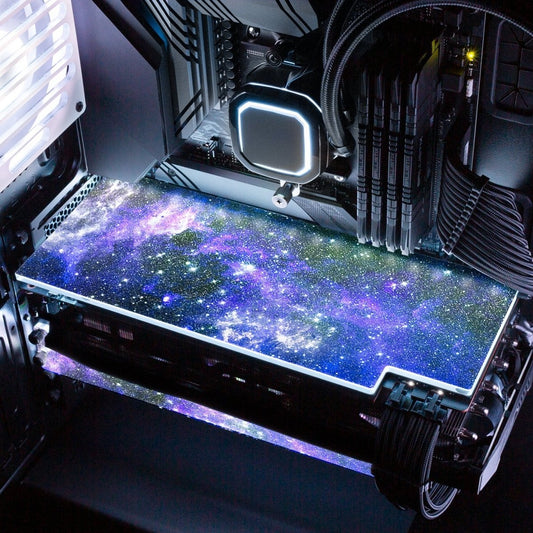
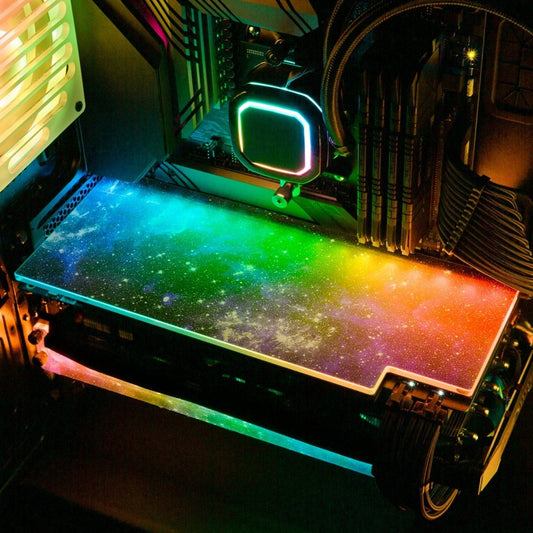
Black Space RGB GPU Backplate
Black Space RGB GPU Backplate
Regular price
$89.99
Regular price
Sale price
$89.99
Unit price
/
per
Hologram RGB GPU Backplate
Hologram RGB GPU Backplate
Regular price
$89.99
Regular price
Sale price
$89.99
Unit price
/
per
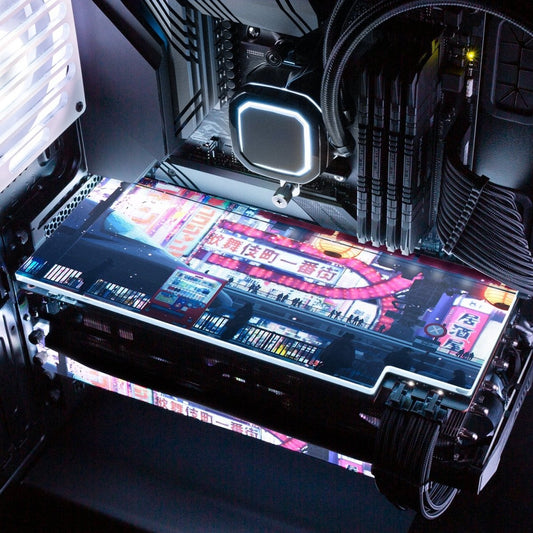
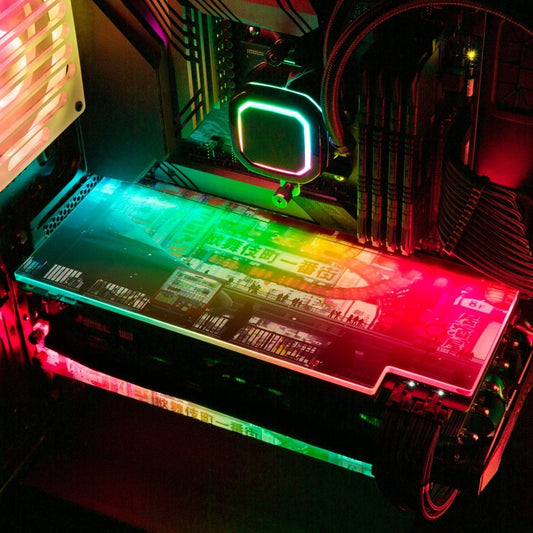
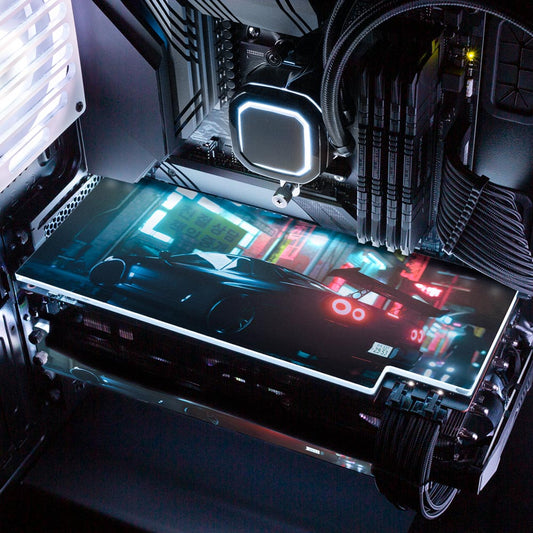
Cyberpunk Streets RGB GPU Backplate
Cyberpunk Streets RGB GPU Backplate
Regular price
$89.99
Regular price
Sale price
$89.99
Unit price
/
per
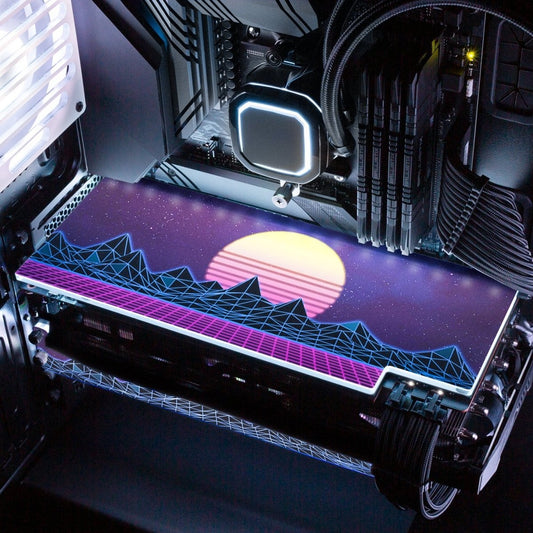
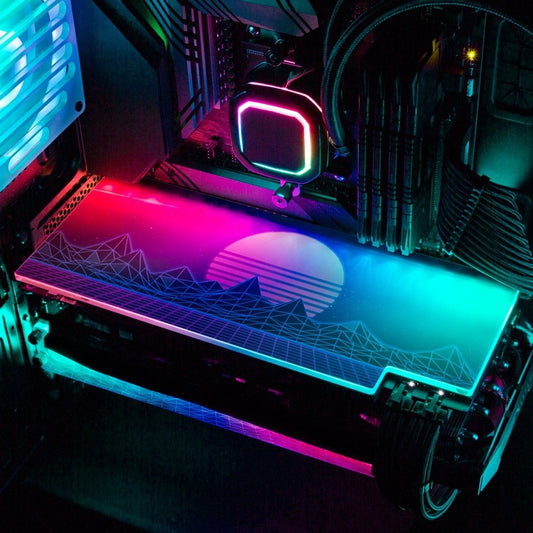
Synthwave Sunset RGB GPU Backplate
Synthwave Sunset RGB GPU Backplate
Regular price
$89.99
Regular price
Sale price
$89.99
Unit price
/
per
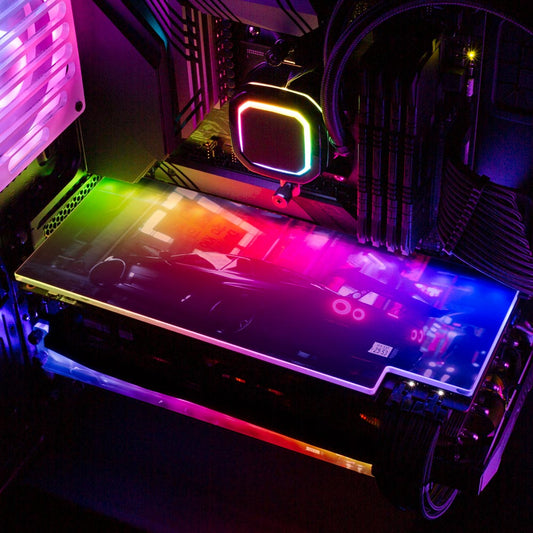
Spectrum RGB GPU Backplate
Spectrum RGB GPU Backplate
Regular price
$89.99
Regular price
Sale price
$89.99
Unit price
/
per
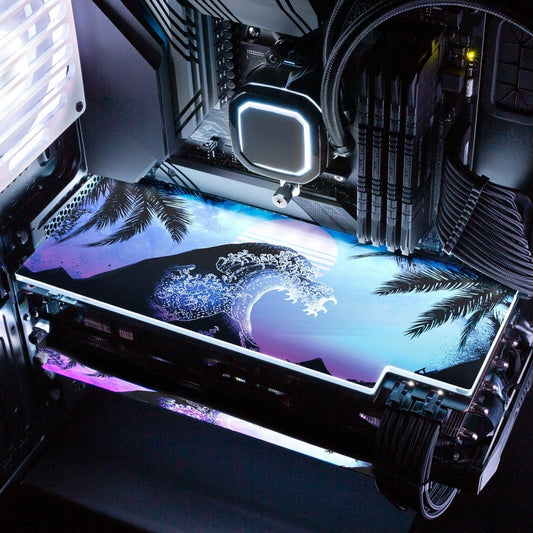
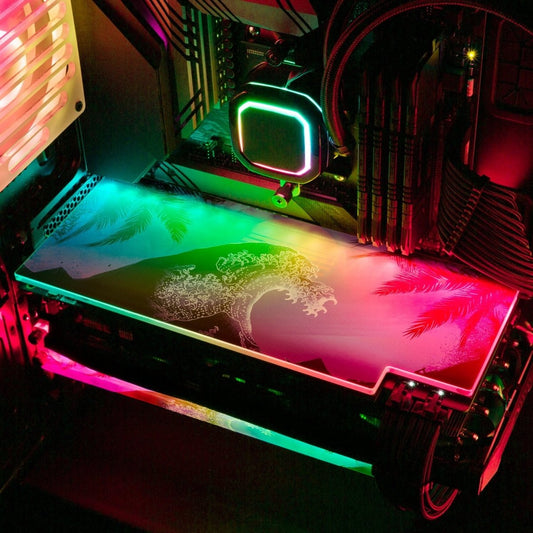
Nature RGB GPU Backplate
Nature RGB GPU Backplate
Regular price
$89.99
Regular price
Sale price
$89.99
Unit price
/
per
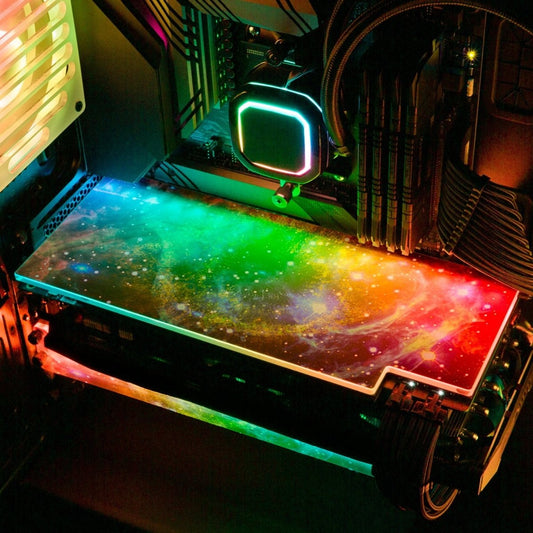
Nova RGB GPU Backplate
Nova RGB GPU Backplate
Regular price
$89.99
Regular price
Sale price
$89.99
Unit price
/
per
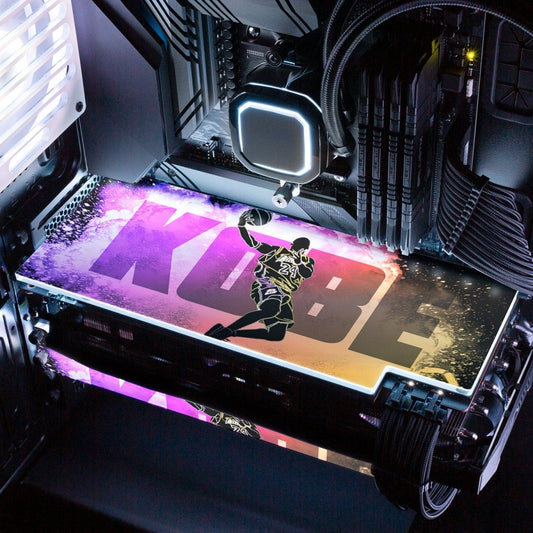
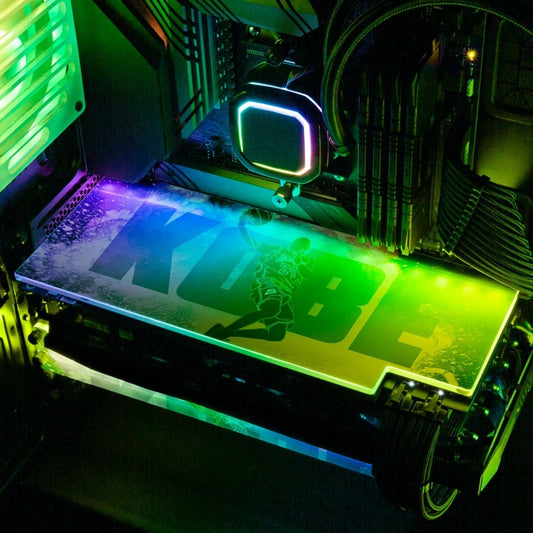
Soul of Black Mamba RGB GPU Backplate
Soul of Black Mamba RGB GPU Backplate
Regular price
$89.99
Regular price
Sale price
$89.99
Unit price
/
per
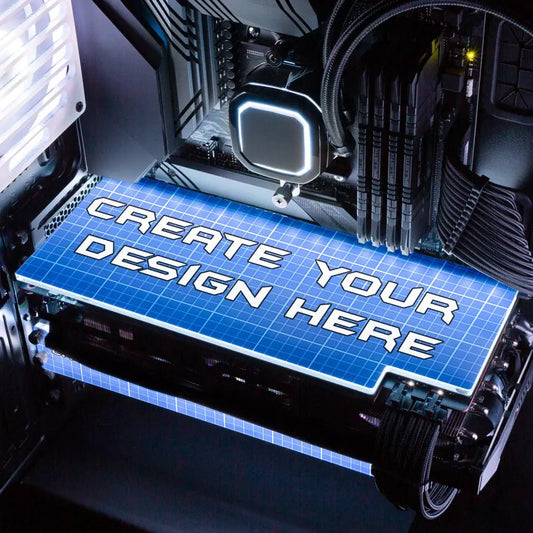
Custom Design RGB GPU Backplate
Custom Design RGB GPU Backplate
Regular price
$84.99
Regular price
Sale price
$84.99
Unit price
/
per
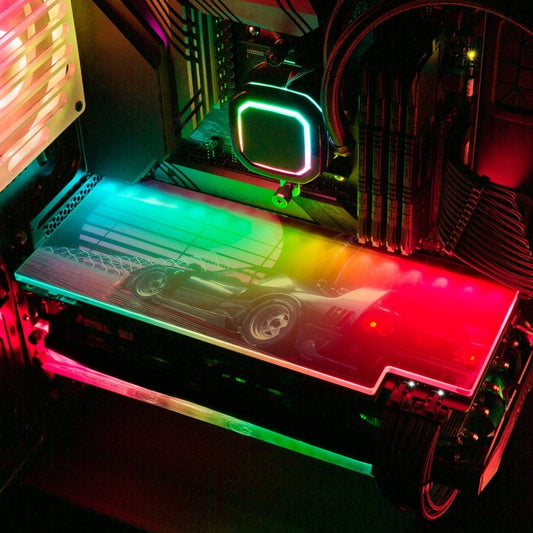
Soul of the Retrowave RGB GPU Backplate
Soul of the Retrowave RGB GPU Backplate
Regular price
$89.99
Regular price
Sale price
$89.99
Unit price
/
per
Blue Space RGB GPU Backplate
Blue Space RGB GPU Backplate
Regular price
$89.99
Regular price
Sale price
$89.99
Unit price
/
per
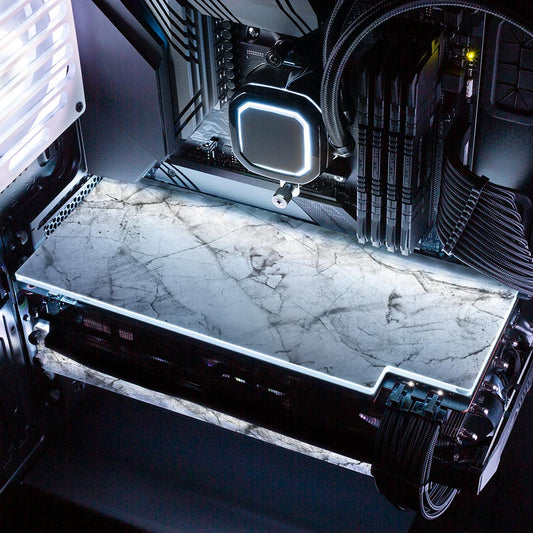
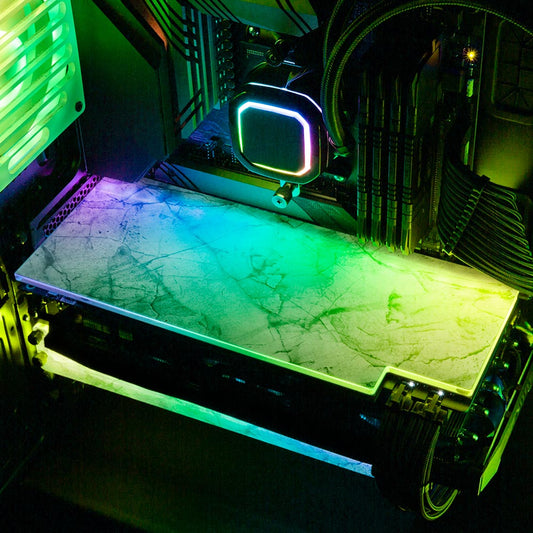
White Marble RGB GPU Backplate
White Marble RGB GPU Backplate
Regular price
$89.99
Regular price
Sale price
$89.99
Unit price
/
per
R-34 Skyline RGB GPU Backplate
R-34 Skyline RGB GPU Backplate
Regular price
$89.99
Regular price
Sale price
$89.99
Unit price
/
per
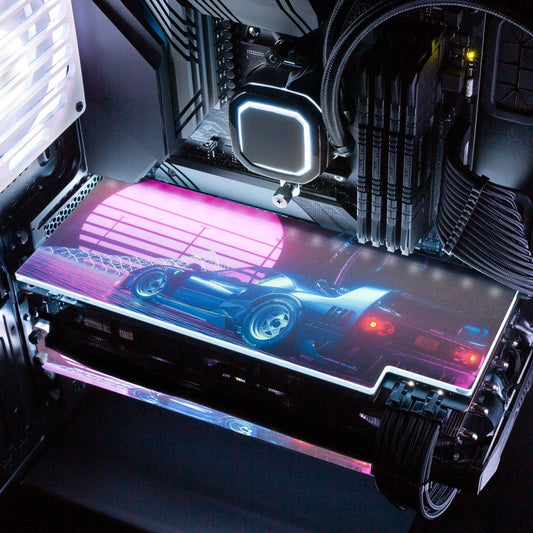
F40 Sunset RGB GPU Backplate
F40 Sunset RGB GPU Backplate
Regular price
$89.99
Regular price
Sale price
$89.99
Unit price
/
per
1
2
3
…
42
Choosing a selection results in a full page refresh.
Opens in a new window.